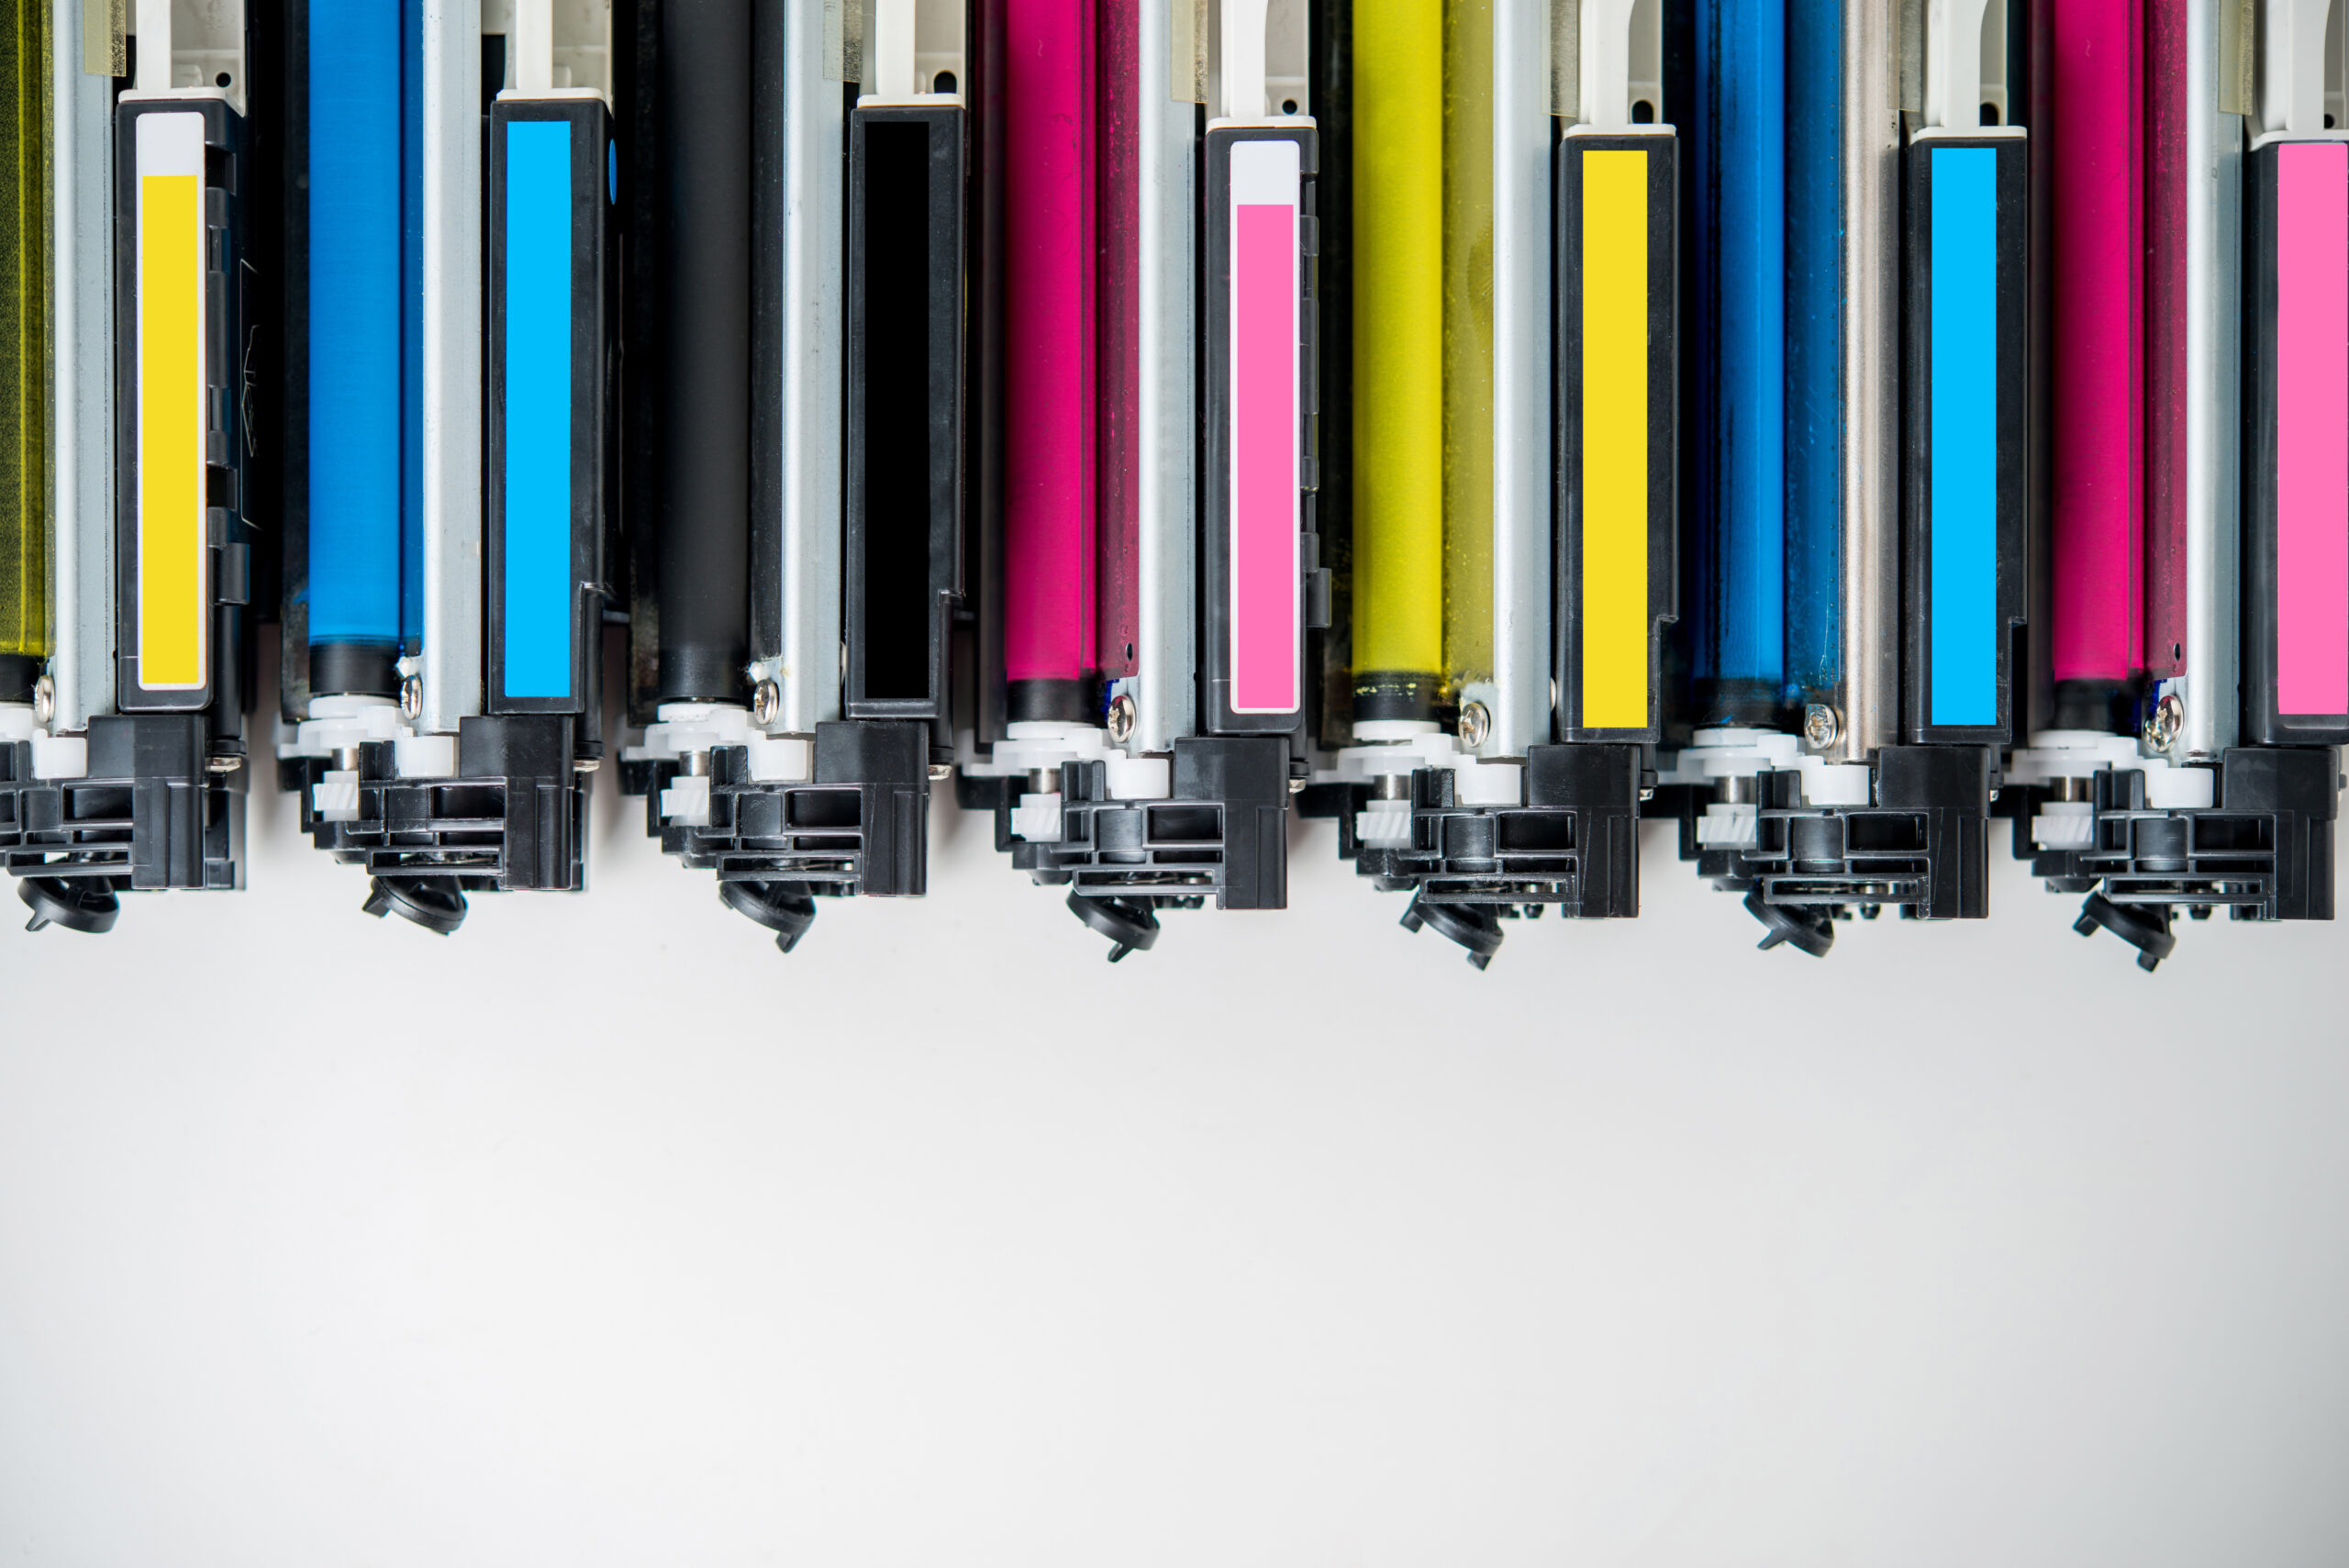
Changing the toner in your Ricoh 10 Series printer is a straightforward process. Follow these instructions to replace the toner safely and effectively.
Step-by-Step Toner Replacement
1. Wait for the Prompt
Your printer will display a message like “Replace Required: Toner Cartridge (XX)” when it’s time to change the toner.
2. Open the Front Cover
Gently pull up the lever on the top cover to open it.
3. Remove the Old Cartridge
Carefully lift out the used toner cartridge vertically, holding it at the center. Avoid shaking it to prevent toner spills.
4. Prepare the New Cartridge
Remove the new toner cartridge from its box and plastic bag. Hold it horizontally and gently shake it side to side 5–6 times to distribute the toner evenly.
5. Remove the Protective Cover
Take off the protective cover from the new cartridge.
6. Insert the New Cartridge
Align the new cartridge with the correct color-coded slot and insert it vertically into the printer.
7. Close the Front Cover
Use both hands to close the top cover until it clicks securely into place.
8. Recycle the Old Cartridge
Place the protective cover on the used cartridge, then place it in the provided bag and box for recycling.
Important Tips
Use Genuine Ricoh Toner: Always use Ricoh-recommended toner cartridges to maintain print quality and avoid printer damage.
Avoid Touching Sensitive Components: Do not touch the photo conductor unit or the cartridge’s ID chip, as this may cause damage.
Store Properly: Keep toner cartridges in a cool, dark place to preserve quality and shelf life.
Handle with Care: Always handle cartridges gently during removal or installation to prevent toner spills or physical damage.
Changing toner doesn’t have to be messy or complicated, especially when you’ve got the right steps (and the right partner). Whether it’s keeping your Ricoh printer in top shape or taking toner supply off your to-do list, we’ve got your back. Let’s make it easy, connect with our friendly team today and keep your printing worry-free.
